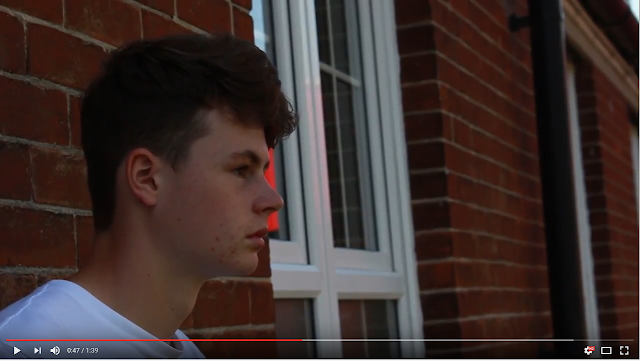
Our task was to create a short continuity sequence to show that we understood the rules of continuity and to show we use know how to use a camera.
In this scene we used lighting to create a shady effect to resemble the character being shady, but to also hide the character to create an air of mystery. We intentionally meant for it to be dark as its what we wanted to go for and managed to find a room with lights and was quite dark. We used a key light and a back light to create a low key lighting effect. This is also a match on action as it cuts from a different angle to show the stabbing. The shot is a close up and shows the scene quite well. Overall we used the match on action quite well and it fitted well in the scene.
In this shot to show mise en scene, we used a POV shot of a car to show the scenery and to show what the person is looking and, it also to create tension as it makes you think that somebody is going to get out of a car.
This shot was our establishing shot. This was to show the scenery of where the video took place. We used this reasonably well to show the scenery, however we could of used it better, maybe using more as we moved to a different set after this scene, is finished. With only one establishing shot, it confuses the audience once you move to a different scene as they don't know what's going on, and I believe that's what happens part of the way through ours, and another establishing shot would help remove the confusion.
This shot is a low and it is used to show that something is dominant and empowering. Overall we used the low angle very well as it also a POV from the person after they have been stabbed, therefore showing that the person walking away is powerful as they have put the person on the floor and are forcing them to look up to them, showing power.
This shot is again a low angle, but is also a fade out to end the scene. We used this quite well as it is used as a bleeding out seen after the person has been stabbed, but it also in slow mo to show the person isn't thinking clearly and is bleeding out. Overall we used this quite well.
What I learnt from this experience was the amount of different camera angles you could use and how they can be used, and how lighting can make or break a scene. I didn't learn much about editing as I didn't do any but I learnt from what I was shown. The most enjoyable part of the experience was filming some of the scenes and watching other people's, comparing theirs to ours, to have a look at ideas that I could take into consideration when next making a film and going into a new group. Overall I enjoyed the experience quite a bit.


How come you didn't do any editing? I asked groups to rotate and all do a bit each. Billy this is promising work and has some good points. It needs more explanation of the techniques though - for example you should have explained what a match on action is and why it is used, then talked about one of yours. So this is pretty promising but needs to go further. I will give it a merit but it's right on the borderline of pass and merit and if it was really being assessed for the BTEC I would have had to give it a pass to be on the safe side.
ReplyDelete